Table of Contents
Setting up a complete development environment in C++ for Raspberry PI
Intro
I wanted to do some development for the Raspberry PI. So, my first idea is to use c++ for the task, and use it from my laptop, instead of using the ssh and the oldies development environments.
I prefer to use a decent IDE (Eclipse for C++) for the task, and debug remotely from my
So, the objectives are:
- To develop in C++ for the Raspberry PI
- To do it in eclipse, in my computer
- To compile in my computer, and debug remotely in the Raspberry PI
- Moreover, to use libraries specifically compiled for the raspberry pi (log4cpp, libconfig)
This setting will configure a development environment optimal for develop and create programs in the raspberry pi.
Previous considerations
Previous tasks I did in my raspberry pi:
- Configure other user than pi, and delete the original pi user
- Configure static IP
Install eclipse
First, install the Java Runtime Environment by doing:
# sudo apt-get install openjdk-8-jdk
And then, install the eclipse: I've went to http://www.eclipse.org/downloads/ and located Eclipse CDT (specific for development in C/C++) and install it.
Install the cross compiler
The “good” cross compiler is the one that comes in the Raspberry Pi kernel building instructions: reject other recipes that simply are for other boards/architectures (boards with arithmetic coprocesor, and things like that).
As it says in the webpage, can download it at https://github.com/raspberrypi/tools. I've
downloaded the tools in ~/tools-master. So, because my linux system is 64 bits, the path
for the compiler is in ~/tools-master/arm-bcm2708/gcc-linaro-arm-linux-gnueabihf-raspbian-x64/bin.
Create your first project in eclipse
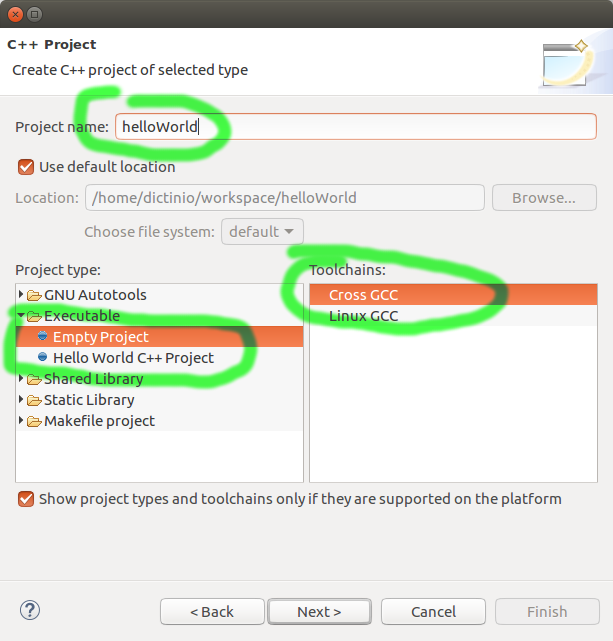
Don't forget the path in the previous step, because you will need to create your first hello world project in eclipse.
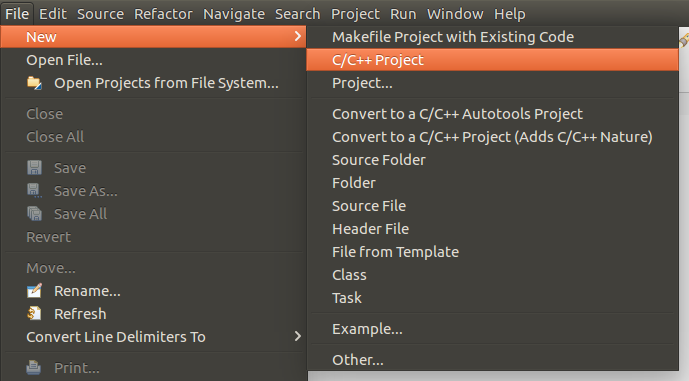
Let's go for it: first, open eclipse and click on “File → New → C/C++ Project”:
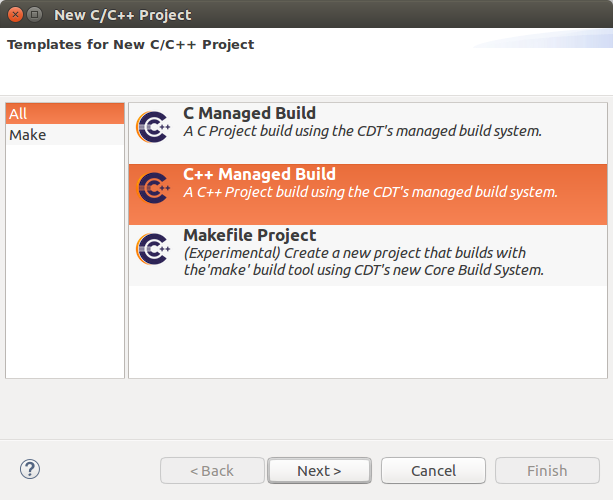
Then, pick up “C++ Managed build” or “C Managed buid”, whichever you prefer. I've chosen C++ Managed build:
Next, I've selected the empty project and, very important, pick up “Cross GCC” to select a cross compiler:
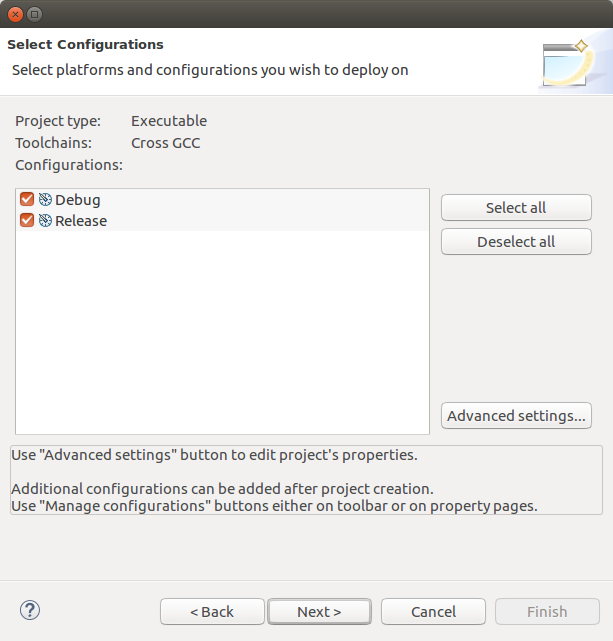
On the screen that appears, you can click on next:
This is the important part: when you have to select the g++ cross compiler. In the previous section I've spotted that and took note of the path and the prefix to use here:

However, if you are unsure which to use, you can try several. A good option is to try to execute the cross compiler to see if it runs: at least it has to execute properly in your computer. At the end, this is a cross compiler, isn't it?
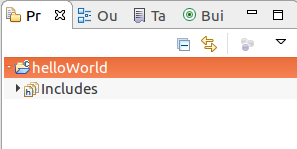
Finally, you will get the project on eclipse:
Then, right-click on new → source file and tye something like this:
/*
 * main.cpp
 *
 *  Created on: 31 mar. 2018
 *      Author: dictinio
 */

#include <iostream>

int main( int argc, char *argv[] )
{
	std::cout << "hello world!!!" << std::endl;
}
And compile it. At this point it's very important to have some experience with C++ and/or eclipse. It's not the purpose of this tutorial to teach you to use the eclipse IDE, to do that, probably you will have to read other tutorials.
Compile and run
Build the program and copy it to your raspberry: it should run smoothly in the raspi. Obviously, it won't execute locally.
Execute and run in the raspberry pi remotely
Eclipse CDT has facilities to move every build in the raspberry pi and execute it remotely.
NEXT STEP: debug remotely.